
I love the look of a sketch with a hint (or a little more) of color. I think I like the sketch look on a photograph because I can’t draw AT ALL. Back in my other life when I was a crime scene investigator, one of the first homicide scenes I was on, I was tasked with making the preliminary sketch. This is just a rough sketch where you can write down your triangulation measurements. I drew what I thought was a passable human, when in fact, it looked more like one of those large pickles you see in a barrel than it did a human. That was one of those things that over a twenty-five year career in law enforcement doesn’t get forgotten. That poor man was forever after known as “pickleman”.
I ran across this tutorial the other day on Facebook. The tutorial was by http://www.davro-digital.com and was posted on http://www.photoshoproadmap.com. It is a tutorial for Photoshop Elements, but it was easy to use Photoshop CS6 with just a few tweaks. It is similar to the tutorial I posted on my youtube channel last year (http://www.youtube.com/watch?v=xF_sL7ZAVnc). I love what you can learn on the internet and I love to watch videos to see exactly how the steps are performed. But unfortunately for me, my retention level isn’t long and I find that I forget steps when I am trying to replicate them and having to switch between my Photoshop program and internet. This is why I generally watch the video several times and take notes on the steps used to achieve the specific look. This is what I did with this tutorial.
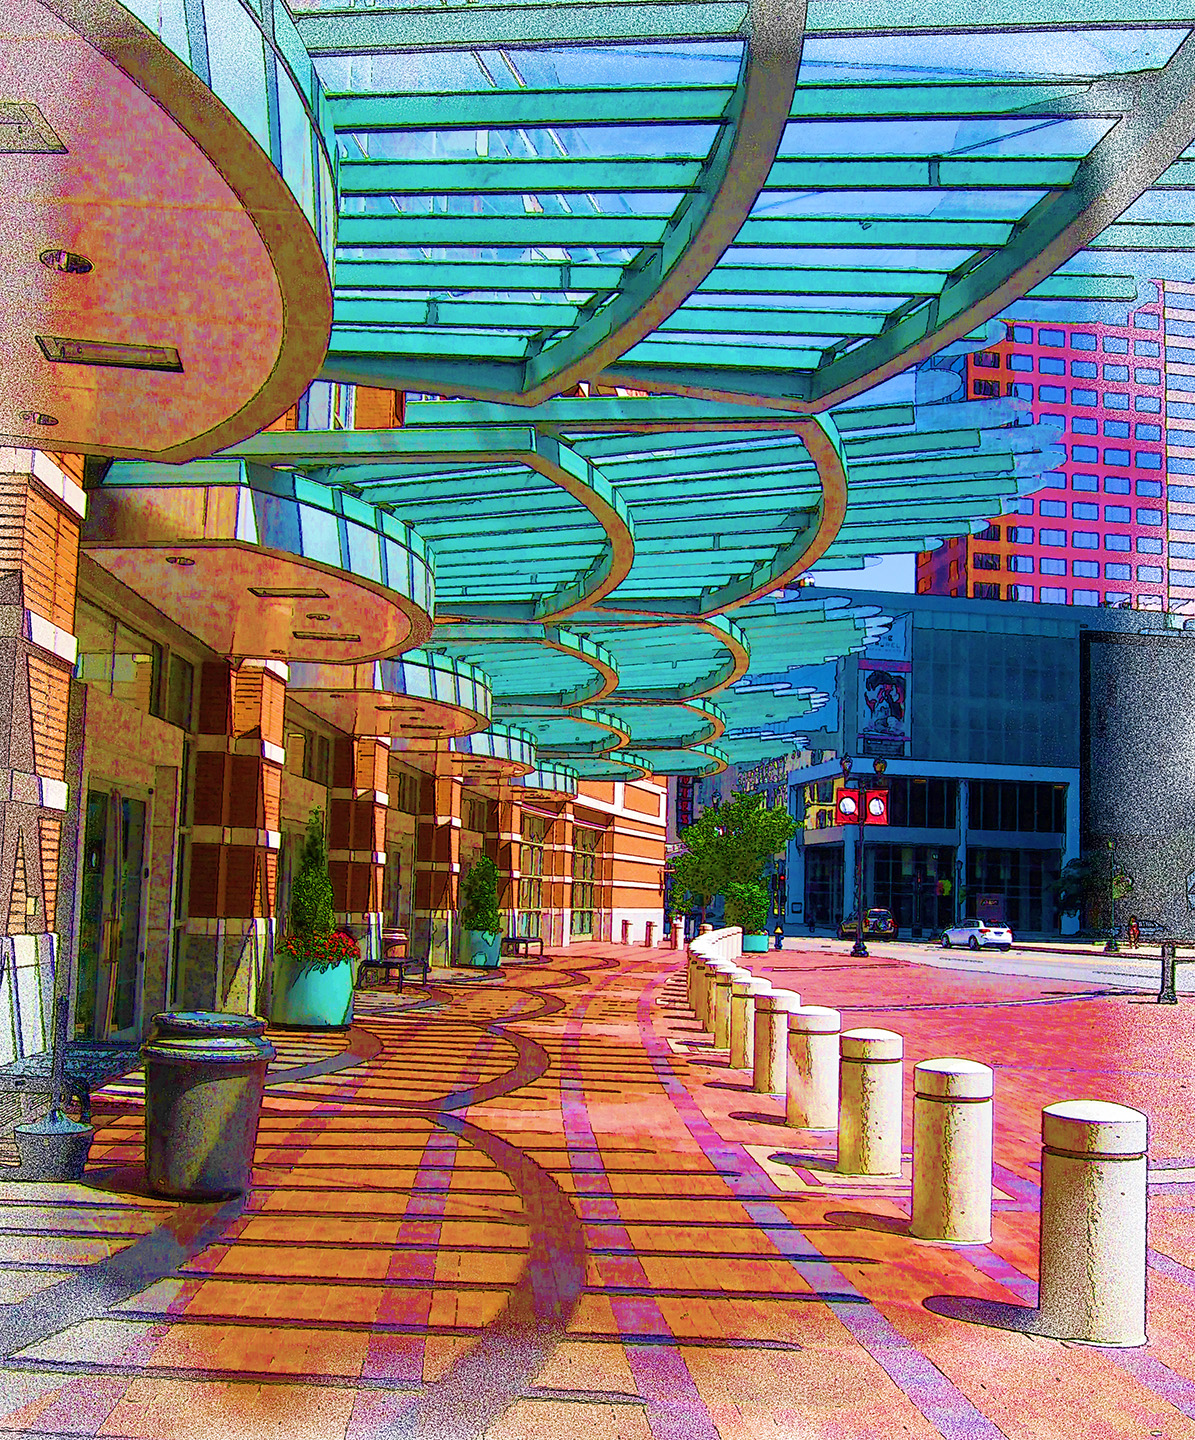
Here is an photograph I took at the front entrance of the Americas Center in downtown St. Louis:

A pretty cool picture on its own, but this is the image when I used the “Painterly Sketch” effect:
These are the major steps to use as you progress through this video:
Open a photograph of your choice, duplicate the background layer, change the name of the duplicate layer to “sketch”.
Invert this layer (“ctl+I). Duplicate the sketch layer (Photoshop automatically names the layer “sketch copy”).
Click off visibility of the sketch copy layer.

Activate the sketch layer by clicking on it, create layer mask by clicking on the rectangular icon at the bottom of the layers panel, chose soft edge brush, change layer mode to dissolve. Paint with brush strokes

Switch copy on, change blend mode to soft light

Click on background layer, add a new adjustment levels layer (two-tone circle at bottom of layers panel) , to give more contrast if needed. Add another new adjustment layer, hue saturation, increase saturation.
Go to top layer below sketch layer, turn off sketch layers. Merge a copy of all visible layers into a new layer Command+Shift+Option+E/Ctrl+Shift+Alt+E. You might want to name this layer something more descriptive than the default name of “layer one”, I didn’t and I wish I had.

On this layer, add a Gassian blur. Go to Filter–> blur–> Gaussian blur, setting between 5-15, reduce layer opacity to between 30 and 50 percent depending on what looks best to you.

Go to top layer of layers stack, make another merged layer by “Ctl+Shift+alt+E”. You might want to rename this layer. I did not.

Go to Filter–>Filter Gallery–>Determine which filter you like and the settings or each. Click Ok. I used Poster Edges, but you can use whatever filters gives your photograph the look you want. Reduce the opacity of the layer.

That is all there is to it. You can change the type of brush you use, the filters and opacity to whatever you like. When your image is complete, you should have a total of 7 layers:
From bottom to top: background layer, adjustment levels layer, adjustment hue/saturation layer,
Layer 1 (first merged layer)
Sketch layer with layer mask
Sketch copy
Texture layer which is second alt plus merge
If you don’t complete the steps in the order given, your results will be different, but who knows, you make like it better. Enjoy!
If you want to contact me, use this new handy form that WordPress provides:
